I buy pads of watercolour paper at Michael's at the beginning of the year.
They are about 25 pages for $5. Yes, I do spend
a lot of my classroom budget on art supplies!
I have found that my dollar store paint pallets however are a huge saving over
the big school issue bottles of tempura paint.
Summer birch trees. The first tree painting in a series of four,
one for each season. Link to the inspiration and idea:
http://thatartistwoman.blogspot.com/2009/08/painting-aspen-trees.html
Photo of my student's artwork:
(all photos are of my studentsm their work or my own work
when student samples aren't available)

We made prints in kindergarten in October. I had to really emphasize how to draw a simple image into
the styrofoam, not too many details. I had an inking station and before students
proceeded to the parent-volunteer-manned inking station
they had to go through the Madame Wiebe-check-to-be-sure-you-pressed-hard-enough station.


In true Reggio Emilia style a parent/teacher scribed each student's description of their work.
Here are our fall trees. We paint a tree for every season. The idea comes from my favourite art website:
http://thatartistwoman.blogspot.com/2008/09/how-to-paint-fall-trees.html
This particular link is important because at the end of her description she
explains how she made her art boards. I have made the same and they work great.
See the science - colour page for a photo of the boards in use.

Spring found art. Found art is anything made from found, recycled, or re-purposed materials.


We synergized on Remembrance day to create this collaborative mural.
My inspiration for this mural came from That Artist Woman of course:
http://thatartistwoman.blogspot.com/2008/11/remembrance-day-painting-art-project.html
I pulled 2 lengths of white paper off one of those big rolls and taped them together.
I used painters tape to mark off the frame around the outside (kept paper from rolling and moving) and
I taped off the crosses. I sketched the hills, moon, sun. The students picked where they wanted to paint.
We had previously drawn pastel apples and had worked on shading, light and dark.
Students who wanted to work in the middle had to gradually lighten or darken their paint.

The next day each student made a tissue paper poppy to add to our mural.
I printed the poppies onto manilla tag.
poppy template.pdf


This was my teaching partner's art project. She does a peace pole ceremony. Students brainstorm ideas about what
kinds of symbols represent peace. Then each student uses tissue to collage a symbol of their choice.
Once completed they hold a ceremony as each child affixes their symbol to the peace pole.
The big huge pole is a concrete form from Home Depot, it was $9 and boy did it look
cool at the Remembreance Day assembly!


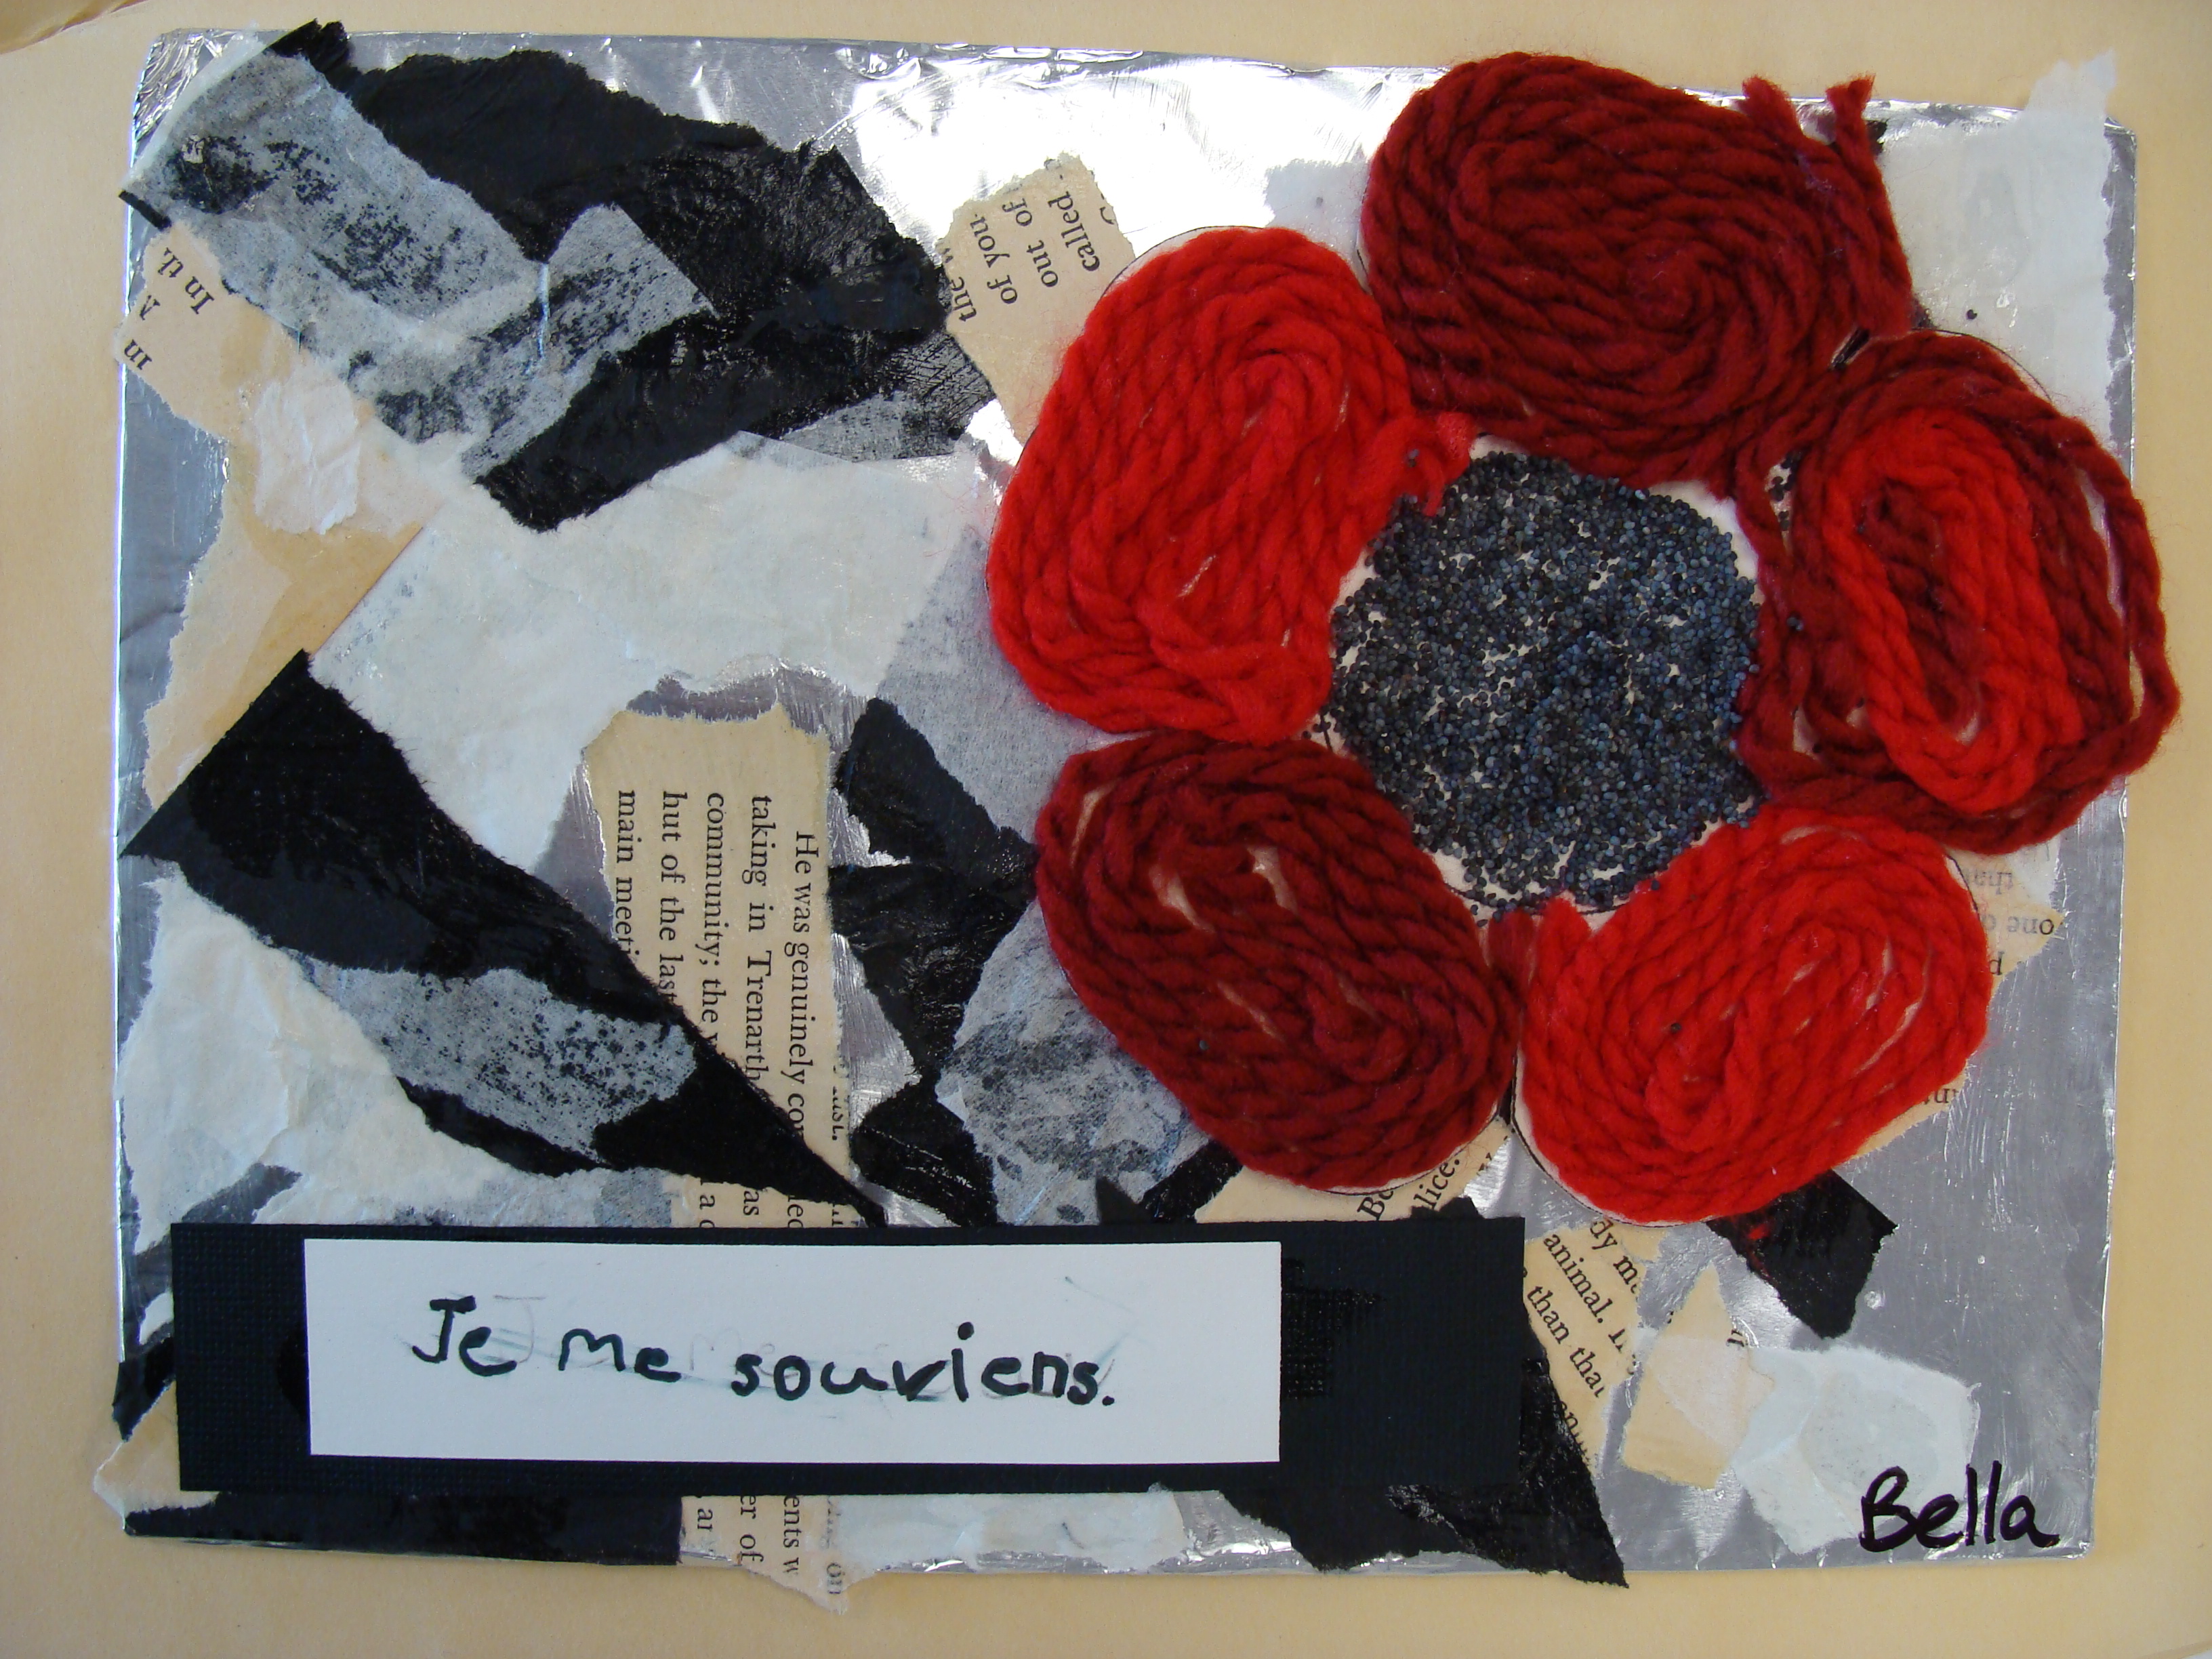
My class had fun with a multimedia project. The idea is from the following website:
http://thatartistwoman.blogspot.com/2009/11/remembrance-day-huichol-yarn-painting.html
I really had to spend time intentionally teaching how to put the glue onto each petal and spiral the yarn from the outside
in, tamping it down gently with my finger as I went. It's all about technique and the more
I work with my students the more they are willing to try something new.
The backing is cut from cereal boxes and covered in foil. The other bits are torn from old books
and tissue. We did use modge podge as that artist woman suggests. You need very little.
I love projects that involve ripping, random layering. My students have fun when I say,
it's better messy, don't be careful, turn your work upside down, have fun.
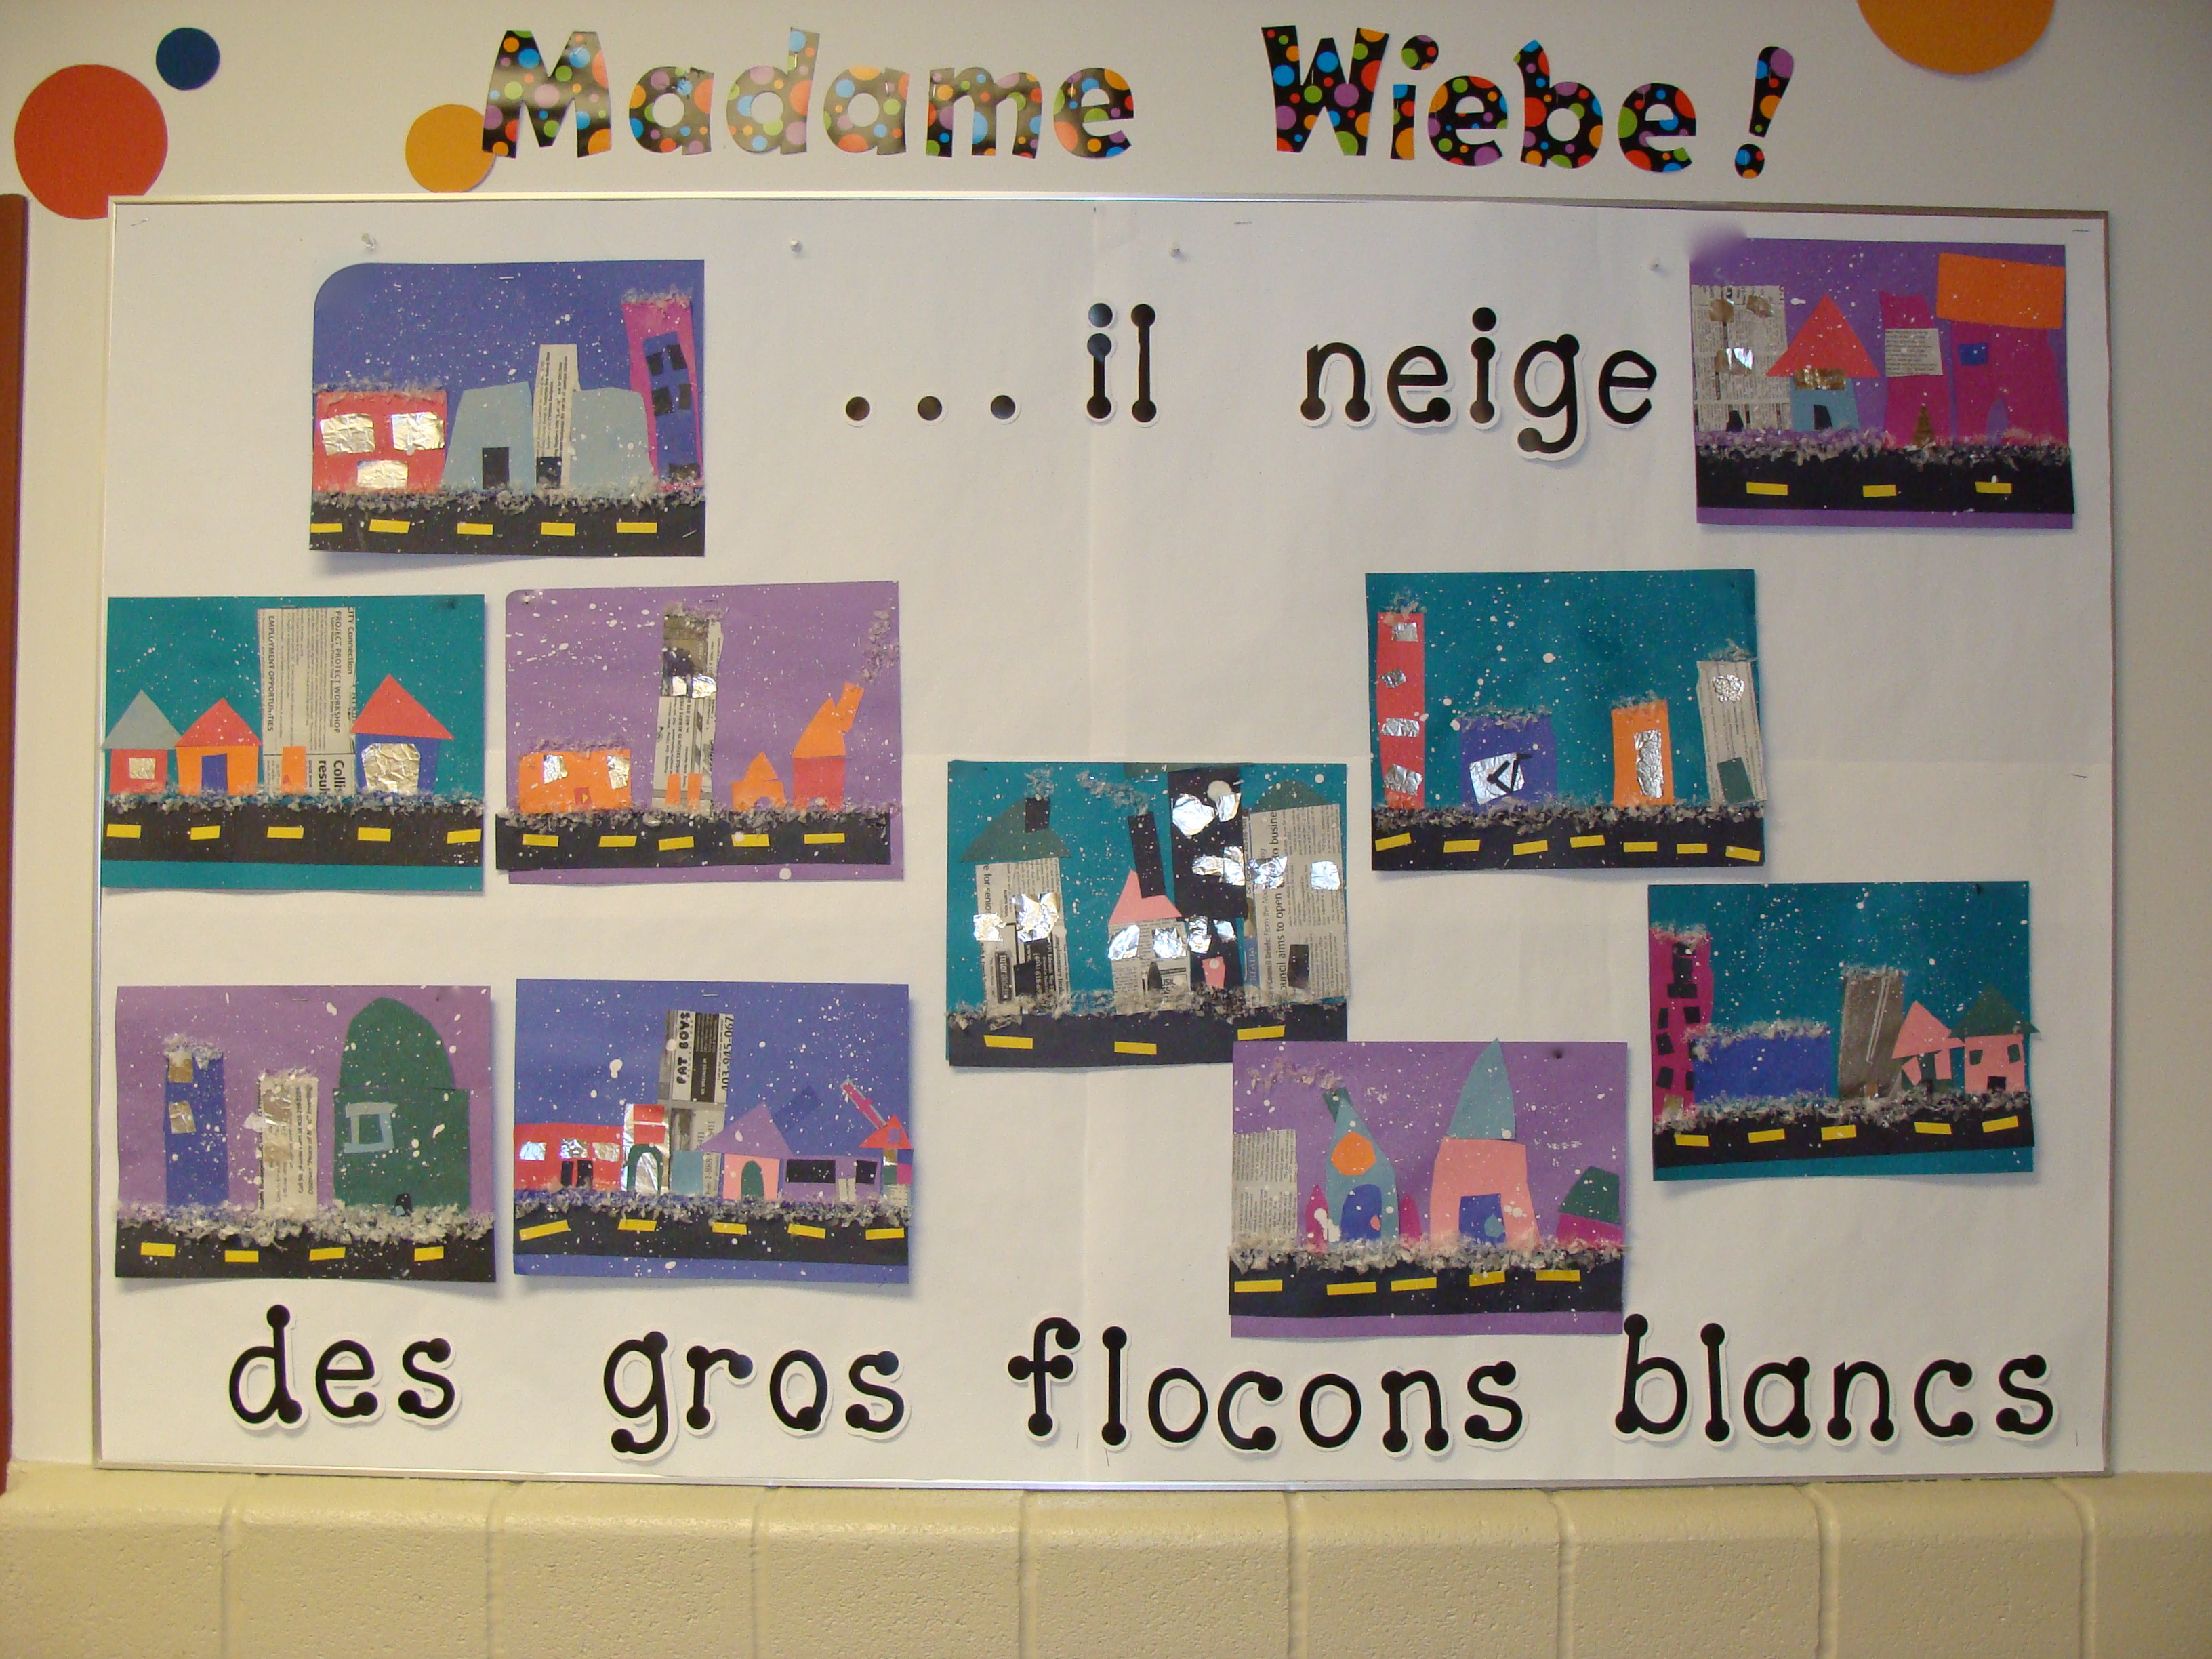
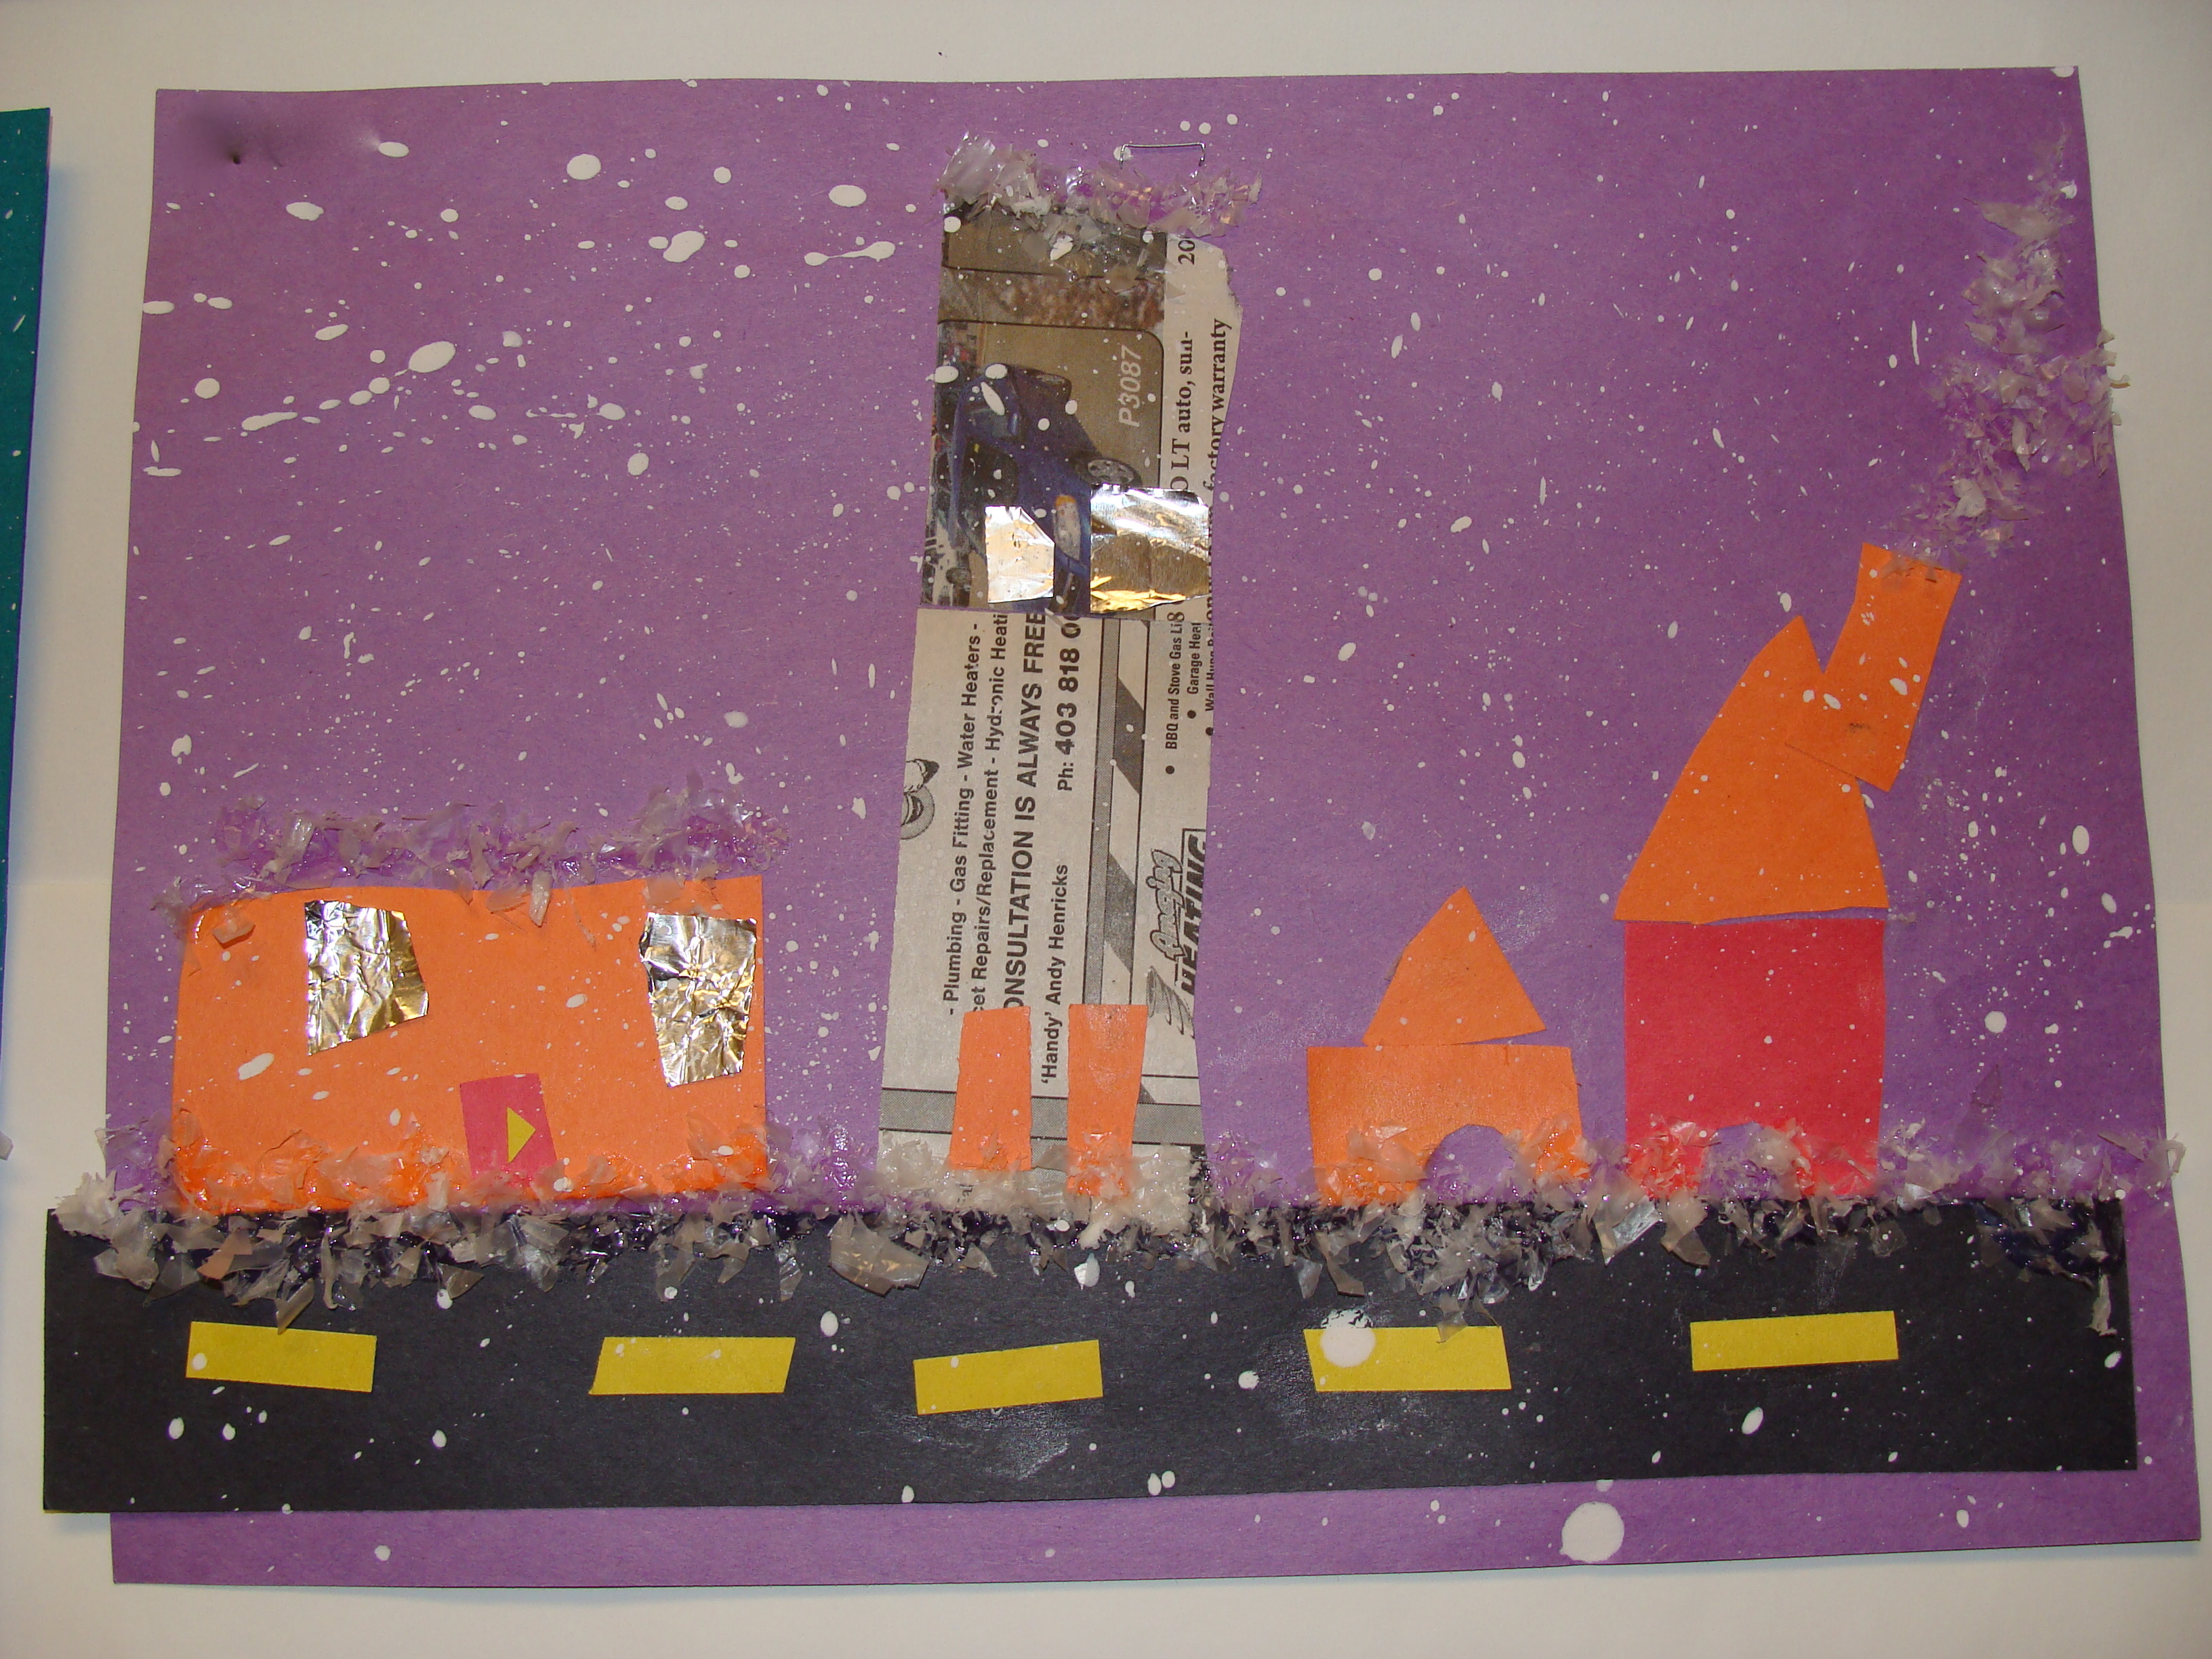
Snow in the city pictures. I love multimedia and had aluminum foil, my trusty old books, newspaper, and construction paper
available. I did have strips for the black road pre-cut. I also had that fake plastic snow on hand.
Another teacher used cotton balls and they looked really great.


Periodically sets of 7 canvases, 8x10 are on sale at Micheal's for $21. This summer
I bought enough for my class. We used viewfinders to "zoom" in on people and images.
Some students grasped the idea of not painting the entire image but rather picking a part, leaving some
of the image off the page and not necessarily centering their image.
Others painted a whole snowman and they were still lovely.
When using a canvas the cool thing is that it is already stretched and so adding
stitching is easy. I had planned to stitch on snowflakes but in the end we were
also sewing mittens this month so didn't.
Once again I did insist on parameters for the project, no background, no painted snowflakes.
We used acrylic this time and painted in layers, first the blue, let dry, them the
white for the snowman. Students really liked that they could always paint over parts they
didn't like once the paint dried.
Inspiration came from:
http://www.deepspacesparkle.com/2009/02/adorable-close-up-snowman-painting/
http://kidsartists.blogspot.com/search/label/oil%20pastel
(scroll down a bit on this link)


In my browsing over the holidays, I found this out of the ordinary idea for a snowman craft. It is a snowman from an aerial perspective!

Comments (0)
You don't have permission to comment on this page.